
Master winter layering techniques to transform challenging cold-weather hikes into comfortable adventures. Start with a moisture-wicking base layer that hugs your skin, add an insulating middle layer of wool or synthetic fleece to trap warm air, and top it with a weatherproof shell that blocks wind and precipitation. Pack extra layers in your backpack – conditions can change dramatically during winter hikes, especially in New Hampshire’s varied terrain. Strategic layering isn’t just about comfort; it’s your first line of defense against hypothermia and frost-related injuries on the trail. The key to successful winter hiking lies in your ability to adjust these layers throughout your journey, adding or removing pieces as your activity level and the weather conditions change.
The Science Behind Smart Layering
Have you ever wondered why layering works so well for winter hiking? It’s not just about piling on clothes – there’s fascinating science behind this tried-and-true method! Think of your layering system as your personal climate control, working with your body to keep you comfortable in challenging conditions.
The key to effective layering lies in creating air pockets between layers. These tiny spaces trap warm air close to your body, acting like natural insulation. But there’s more to it than just warmth – managing moisture is equally important. When you’re hiking, your body produces heat and sweat, even in cold weather. Each layer plays a specific role in handling this moisture to keep you dry and comfortable.
Your base layer wicks sweat away from your skin, preventing that chilly, damp feeling that can lead to hypothermia. The mid layer’s insulating properties trap warm air while allowing moisture to pass through. Your outer layer acts as a shield against wind and precipitation while letting excess moisture escape, preventing overheating and sweat build-up.
This system is dynamic – you can add or remove layers as needed. When you’re climbing uphill and generating heat, you might shed a layer. When you stop for a break and cool down, you can add it back. It’s like having a thermostat you can adjust throughout your hike, helping your body maintain its ideal temperature of 98.6°F, no matter what Mother Nature throws your way.

Your Essential Base Layer: The Foundation of Warmth
Best Base Layer Materials
When it comes to essential cold weather clothing, choosing the right base layer material can make or break your hiking experience. Merino wool is a top performer, naturally regulating body temperature and fighting odor while keeping you cozy even when damp. It’s perfect for multi-day hikes, though it comes with a higher price tag.
Synthetic materials like polyester and polypropylene are excellent budget-friendly alternatives. These moisture-wicking champions dry quickly and maintain their insulating properties, making them ideal for intense activities. While they may retain odors more than wool, they’re incredibly durable and easy to care for.
Some hikers prefer silk base layers for their lightweight feel and excellent temperature regulation. Though less durable than other options, silk works well for moderate activities and can be layered under wool or synthetics for extra warmth. Whatever material you choose, avoid cotton at all costs – it retains moisture and can lead to dangerous chilling in cold weather.

Finding the Right Fit
When it comes to layering, comfort starts with the right fit. Your base layer should feel like a second skin – snug but not restrictive. You should be able to move freely, reach overhead, and bend down without any pinching or riding up. Avoid base layers that are too loose, as they can bunch up underneath other layers and create cold spots.
For mid-layers, leave a little breathing room – enough space to trap warm air but not so much that cold drafts can sneak in. Your outer layer should be roomy enough to accommodate all layers underneath while still allowing full range of motion. Remember, you’ll be moving on the trails, so do some stretches and movement tests while trying on your layers.
A quick tip from local hikers: Base layers tend to shrink slightly after washing, so if you’re between sizes, consider going up one size. When in doubt, visit one of our local outdoor retailers for a proper fitting session.
Mid-Layer Magic: Insulation That Works
Fleece vs. Wool vs. Synthetic
When it comes to your mid-layer, you’ve got three fantastic options to choose from. Fleece is a cozy, budget-friendly choice that dries quickly and keeps you toasty even when damp. It’s perfect for day hikes and casual winter adventures, though it can be a bit bulky in your pack.
Wool, especially merino, is nature’s wonder material. It keeps you warm even when wet, naturally fights odors, and regulates temperature beautifully. While it’s pricier than fleece, many hikers swear by its comfort and versatility in New Hampshire’s changing conditions.
Synthetic materials like polyester and nylon blends offer the best of both worlds. They’re lightweight, packable, and often more affordable than wool. Many feature special moisture-wicking technology and are ideal for high-intensity activities where you might work up a sweat. For those chilly summit attempts on Mount Pisgah, synthetics can be your best friend!
When to Add or Remove
Managing your mid-layer effectively is like conducting a temperature symphony for your body. Start your hike wearing fewer layers than you think you’ll need – you’ll warm up quickly once moving. If you find yourself getting chilly during rest breaks or in shaded areas, that’s the perfect time to add your mid-layer. On the flip side, if you start sweating or feel too warm while hiking, remove a layer before you get damp – moisture is your enemy in cold weather.
Pay attention to your body’s signals and don’t wait until you’re uncomfortable to make adjustments. A good rule of thumb is to be slightly cool when you first start moving – if you’re completely comfortable while standing still, you’ll likely overheat once you get going. Remember that it’s easier to stay warm than to get warm, so make adjustments early and often. During steep climbs or increased exertion, you’ll typically want fewer layers, while exposed ridgelines and rest stops usually call for adding protection.
Outer Layer: Your Shield Against the Elements
Shell Features That Matter
Your outer shell is your first line of defense against the elements, so choosing one with the right features is crucial. Look for a waterproof and windproof jacket that uses a reliable membrane like Gore-Tex or similar technology. The key is finding a shell that’s both waterproof and breathable – you want to keep precipitation out while letting your body’s moisture escape.
Make sure your shell has adjustable cuffs and a drawcord hem to seal out cold air and snow. Pit zips are a game-changer for regulating temperature during strenuous uphill sections. A hood that’s large enough to fit over a warm hat but adjustable enough to stay in place when the wind picks up is essential for New Hampshire’s unpredictable mountain weather.
Consider shells with chest pockets that remain accessible while wearing a backpack, and look for reinforced areas at common wear points like shoulders and elbows.
Local Weather Considerations
New Hampshire’s winter weather can be particularly challenging, with temperatures often dipping below zero and conditions changing rapidly throughout the day. The White Mountains are known for their fierce winds, which can make the actual temperature feel significantly colder than what’s shown on your weather app. When hiking in the Granite State, always pack an extra insulating layer and make sure your outer shell is both windproof and waterproof.
Local hikers know that the temperature can vary dramatically between trailheads and summits, often dropping 20-30 degrees as you gain elevation. Understanding these local patterns is crucial for severe weather safety. Keep a close eye on Mount Washington Observatory forecasts, as they provide the most accurate predictions for our region’s notorious weather shifts.
Remember that New Hampshire’s winter humidity can make cotton layers particularly dangerous – they’ll hold moisture and steal your body heat faster than in drier climates. Stick to wool and synthetic materials that perform well in our characteristically wet winter conditions.
Accessories That Complete Your System
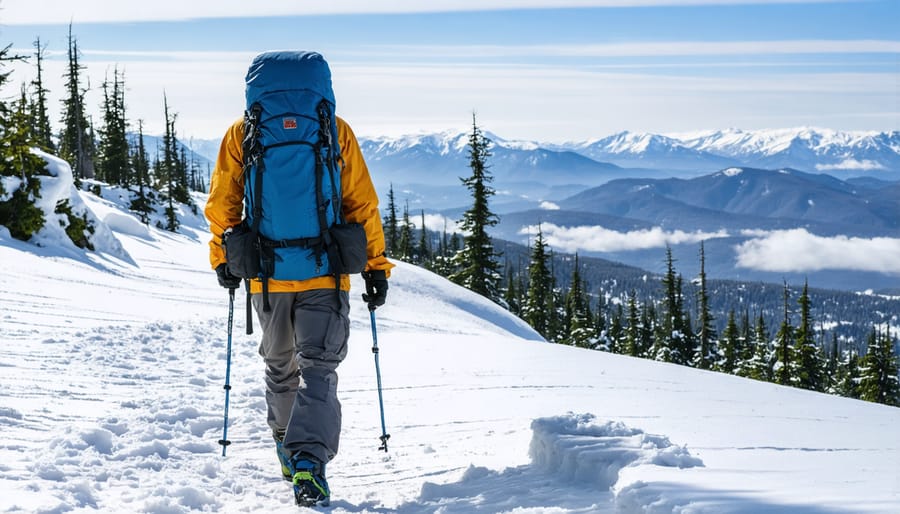
While your base layers keep you cozy and your outer shell blocks the elements, it’s the accessories that truly seal the deal for a comfortable winter hiking experience. Think of these items as the final pieces of your cold-weather puzzle, each playing a crucial role in keeping you warm and protected.
Start with a good winter hat that covers your ears – you lose a significant amount of body heat through your head. Wool or synthetic beanies are perfect, and pack a backup in case the first gets wet. For extra-cold days, consider a fleece-lined cap with ear coverage.
Your hands need serious attention in winter conditions. Opt for a layered approach here too: thin liner gloves for dexterity, paired with insulated waterproof mittens or gloves for serious warmth. Keep spare gloves handy; cold, wet hands can quickly turn a great hike into a miserable experience.
A neck gaiter or buff is worth its weight in gold. These versatile tubes of fabric can be worn as neck warmers, face masks, or emergency hat replacements. On particularly bitter days, you’ll appreciate the extra protection against wind and snow around your face and neck.
Don’t forget about your feet! Warm, moisture-wicking socks are essential, and many experienced hikers pack an extra pair. Gaiters that wrap around your boots and lower legs keep snow out and add an extra layer of warmth.
Remember to pack hand and toe warmers – they’re lightweight insurance against unexpected cold spells and can make a world of difference when temperatures really drop. Here in Chesterfield, where winter winds can be fierce, these small accessories often become absolute necessities.
Common Layering Mistakes to Avoid
Even experienced hikers can make layering mistakes, but they’re easy to avoid with a few simple tips! The most common error is wearing cotton clothing, which holds moisture and can leave you dangerously chilled. Another frequent mistake is starting your hike wearing all your layers – instead, begin slightly cool and add layers as needed. Watch out for overdressing and sweating excessively, which can make your clothes damp and reduce their insulating power. Remember to pack extra layers even on sunny days, as New Hampshire weather can change quickly. Also, avoid leaving gaps between layers, especially around your neck and wrists, where cold air can sneak in. Finally, don’t forget to adjust your layers during breaks – zip down or remove a layer before you stop, then bundle up once you’re resting to prevent getting chilled.
Remember, proper layering is your best friend on winter trails. By following these guidelines and adjusting your layers based on activity level and weather conditions, you’ll stay comfortable and safe during your cold-weather adventures. Always check the forecast before heading out, pack extra layers, and don’t forget to share your hiking plans with someone. Now get out there and embrace the winter wilderness – your cozy, well-layered self will thank you!